Wumpus Season
In this post series we'll walk through recreating the classic Hunt the Wumpus game in Yew. The original was played at the command line, we're going to use a webpage. Yew allows us to define our frontend in Rust. Our app will be compiled to WebAssembly for execution.
Does this app need this? No.
Does any app need this? Debatable, but probably. Hash it out in the comments!
Will we do it anyway? HELL YES!
This is a beginner-level tutorial - it's helpful to be familiar with reading Rust but there's nothing too fancy going on here. Comfort in any imperative language should be sufficient.
I've split this into three parts. This first part is designed to stand alone as a useful guide for starting your own blank project. No wumpus hunting yet, just replace the filler text with stuff appropriate for your app. Part 2 sets up our basic UI and mechanism for moving around the cave and Part 3 discusses the game logic.
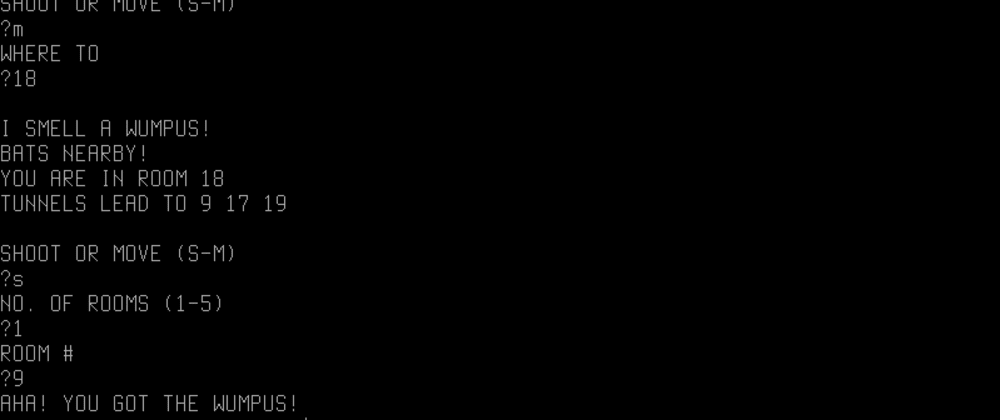
EDIT: You can play the completed app here!
Setup
Rust has some great tooling popping up making this compilation pipeline relatively painless. Yew with cargo-web like we use is only one of already several ways to go about it. If you like what you find here I'd recommend the RustWasm book next. It walks you through building a Game of Life <canvas> application without using any fancy frameworks or tools - from there you can pick and choose what you need on top of it. You get to decide how low or high level you want to get with it. Also be sure to check out draco, an alternative client-side Rust->Wasm framework.
You'll need a nightly Rust compiler. See rustup to get started if you need to - it's easy. You'll also need cargo-web: cargo install cargo-web.
Once you have that installed navigate to your projects directory and issue cargo new hunt-the-wumpus at the terminal. Open that folder in the text editor of your choice. We're going to start by adding just enough to get everything compiling and running.
First lets set up our project folder to use the built-in Rust target. Issue the following commands:
$ rustup override set nightly
$ echo 'default-target = "wasm32-unknown-unknown"' > Web.toml
This will ensure the cargo web command always uses the proper target. The rustup override command is directory-specific - to change it globally use rustup default nightly. I prefer to default to stable and only use nightly when necessary.
Now make your Cargo.toml look like the following:
[package]
authors = ["Hunter Wumpfrey <hw@bottomlesspit.net>"]
edition = "2018"
name = "hunt-the-wumpus"
version = "0.1.0"
[[bin]]
name = "hunt"
path = "src/main.rs"

[dependencies]
stdweb = "0.4"

[dependencies.yew]
version = "0.9.2"

[lib]
name = "hunt_the_wumpus"
path = "src/lib.rs"
Most of our code is going to live in a library and the binary is just going to mount the app to the page.
Next replace your main.rs with the following:
extern crate hunt_the_wumpus;
extern crate yew;

use hunt_the_wumpus::Model;
use yew::prelude::App;

fn main() {
    yew::initialize();
    let app: App<Model> = App::new();
    app.mount_to_body();
    yew::run_loop();
}
This stub will just find our mount point and attach our program to it. Speaking of, let's create a mount point. Issue:
$ mkdir static
$ touch static/index.html
We also just need a stub here. Add the following to that file and save it:
<!DOCTYPE html>
<html lang="en">

<head>
  <meta charset="utf-8">
  <meta http-equiv="X-UA-Compatible" content="IE=edge">
  <meta name="viewport" content="width=device-width, initial-scale=1.0">
  <meta name="description" content="Hunt the wumpus!">
  <meta name="author" content="YOU">
  <title>HUNT THE WUMPUS</title>
  <link rel="stylesheet" type="text/css" href="hunt.css">
  <script src="hunt.js"></script>
</head>

<body>
</body>

</html>
We won't need that again - it just loads up our compiled JS and our stylesheet. This static directory is where your favicon will go as well - I like this one.
Now, let's add the basic Yew outline - the thing we're going to render. Issue:
$ touch src/lib.rs
Fill it with the following template:
extern crate stdweb;
#[macro_use]
extern crate yew;

use yew::prelude::*;

pub struct Model {
  arrows: u8,
}

#[derive(Debug, Clone)]
pub enum Msg {}

impl Component for Model {
  type Message = Msg;
  type Properties = ();

  fn create(_: Self::Properties, _: ComponentLink<Self>) -> Self {
    Model { arrows: 5 }
  }

  fn update(&mut self, _msg: Self::Message) -> ShouldRender {
    true
  }
}

impl Renderable<Model> for Model {
  fn view(&self) -> Html<Self> {
    html! {
        <div class="hunt",>
            <div class="header",>{"Hunt the Wumpus"}</div>
            <div class="body",>
              <span class="arrows",>{&format!("Arrows: {}", self.arrows)}</span>
            </div>
        </div>
    }
  }
}
This is what most of our components are going to look like. This should look somewhat familiar if you've used other frontend frameworks. There's a Component trait where we can define state transformations like create and update and a Renderable<T> trait with a JSX-like html! macro for defining the view. It then draws inspiration from tools like Elm to provide a Msg type which will drive our events in the update method. We don't have any messages to process yet, so we're just including a stub. To start off update will always return true for ShouldRender, triggering a redraw.
Before we get to coding, we need to set up the rest of the build pipeline. We're going to use yarn - it's a web app, after all.
$ yarn init
// answer the questions
$ yarn add -D @babel/core @babel/preset-env autoprefixer node-sass nodemon npm-run-all postcss postcss-cli rollup rollup-plugin-babel rollup-plugin-postcss rollup-plugin-uglify rollup-plugin-wasm serve
Then add these scripts to your package.json:
  "scripts": {
    "build:js": "rollup -c",
    "build:rs": "cargo web deploy --release",
    "build:scss": "node-sass --include-path scss scss/hunt.scss css/hunt.css",
    "build:css": "postcss --use autoprefixer -o static/hunt.css css/hunt.css",
    "build:style": "run-s build:scss build:css",
    "build:copy": "cp target/deploy/hunt.css release/ && cp target/deploy/hunt.wasm release/ && cp target/deploy/index.html release/ && cp target/deploy/favicon.ico release/",
    "build": "run-s clean:deploy build:rs build:js build:style build:copy",
    "clean:deploy": "rm -rf /release",
    "prod": "run-s build serve",
    "serve": "serve -p 8080 release",
    "watch:rs": "cargo web start --release",
    "test": "echo \"Error: no tests!\" && exit 1"
  },
To set up our app-wide stylesheet, issue:
$ mkdir scss
$ touch scss/hunt.scss
Just to make sure it's all hooked up, put the following in it:
.arrows {
  font-weight: bold;
}
Now, let's hit the big button. Open your terminal and issue
$ yarn build:style
$ yarn watch:rs
Finally, point your browser to localhost:8000. You should see the following:
Hunt the Wumpus
Arrows: 5
We're up and running! The development config works. Let's top off our .gitignore:
/target
**/*.rs.bk
/node_modules
yarn-*.log
/css
/static/*.css
/release
Let's test our our production bundle. First create rollup.config.js and save the following contents:
import babel from "rollup-plugin-babel"
import uglify from "rollup-plugin-uglify"

export default {
    input: './target/deploy/hunt.js',
    output: {
        name: 'hunt',
        file: './release/hunt.js',
        format: 'es',
    },
    plugins: [
        babel({
            exclude: 'node_modules/**'
        }),
        uglify
    ]
};
Now make sure you exit the watch:rs process and then try yarn prod. When the build completes you should see the same output at localhost:8080.
Once it's all working, commit! git init && git commit -m "Initial commit."
See here for the full code at the end of part 1.
If you're ready to move on to the build, see Part 2.


