Appwrite is a backend-as-a-service platform that gives developers the power to create fully functional backend applications without worrying about the underlying infrastructure or services.
To setup Appwrite on our local development environment, ensure that docker is installed and run the following commands:
Unix
docker run -it--rm\--volume /var/run/docker.sock:/var/run/docker.sock \--volume"$(pwd)"/appwrite:/usr/src/code/appwrite:rw \--entrypoint="install"\
appwrite/appwrite:1.2.0
docker run -it--rm`--volume /var/run/docker.sock:/var/run/docker.sock `--volume${pwd}/appwrite:/usr/src/code/appwrite:rw `--entrypoint="install"`
appwrite/appwrite:1.2.0
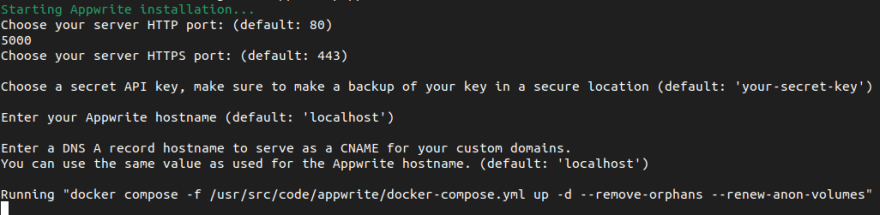
The command will prompt the following configurations:
Choose your server HTTP port: (default: 80): <PRESS ENTER>/port number of choice
Choose your server HTTPS port: (default: 443): <PRESS ENTER>
Choose a secret API key, make sure to make a backup of your key in a secure location (default: 'your-secret-key'): <PRESS ENTER>
Enter your Appwrite hostname(default: 'localhost'): <PRESS ENTER>
Enter a DNS A record hostname to serve as a CNAME for your custom domains.
You can use the same value as used for the Appwrite hostname. (default: 'localhost'): <PRESS ENTER>
After a successful installation, Appwrite will run on localhost on the port number set during configuration. By default, it runs on port 80: localhost:80. In the demo, the port was configured to 5000: localhost:5000
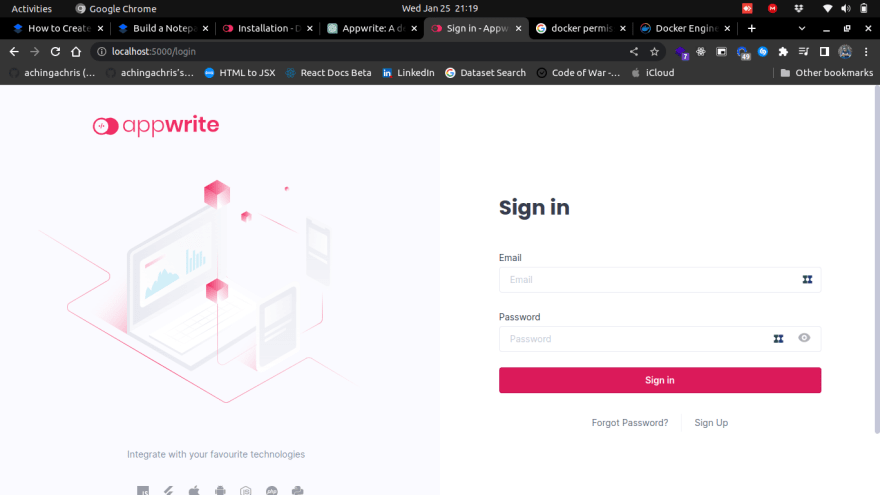
Run localhost on the port configured during installation. We will be redirected to the authentication page. To create an account, use the URL: http://localhost:5000/register
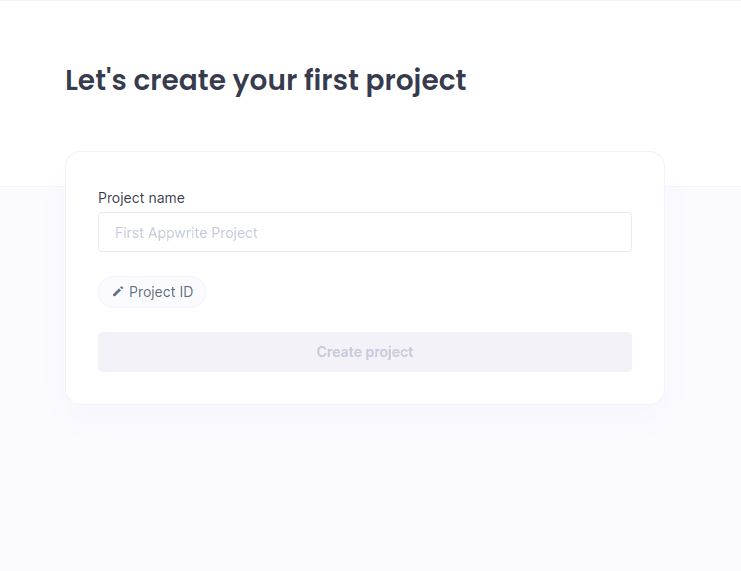
Creating an Appwrite Project
After successful authentication, we will be redirected to a new page to create a new project:
Enter a project name; for this demo, we will use “notes”. After creating the project, we will get to the project dashboard.
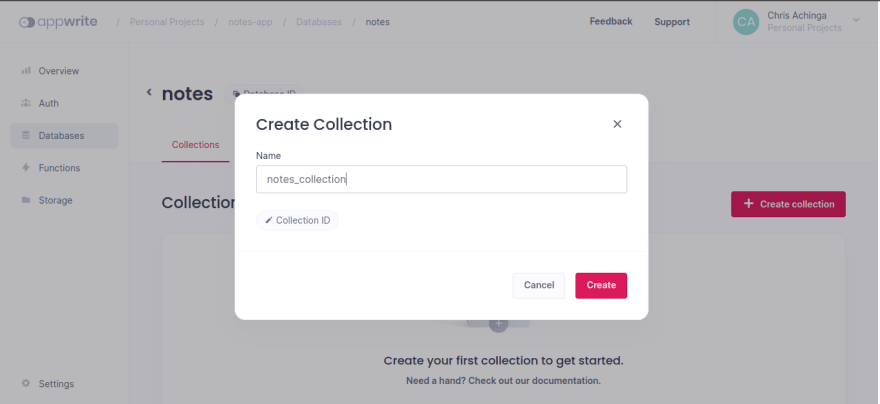
Creating a Database and a Collection
Click on Create database to create a new database.
After creating a database, we will need to create a collection. We can do this by clicking on the Create collection button.
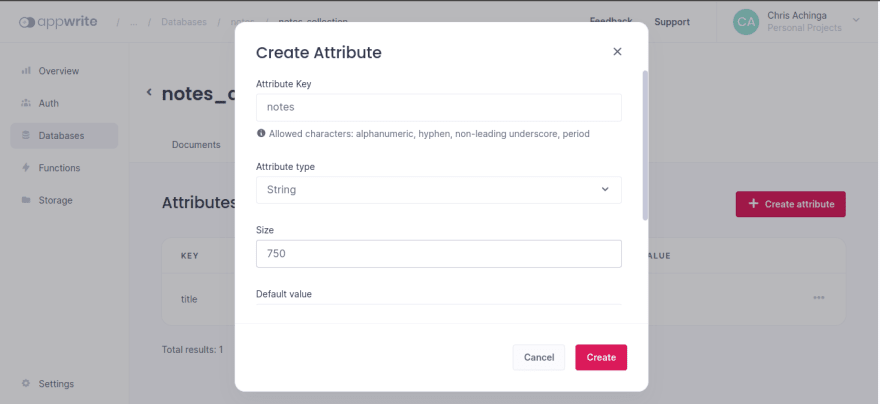
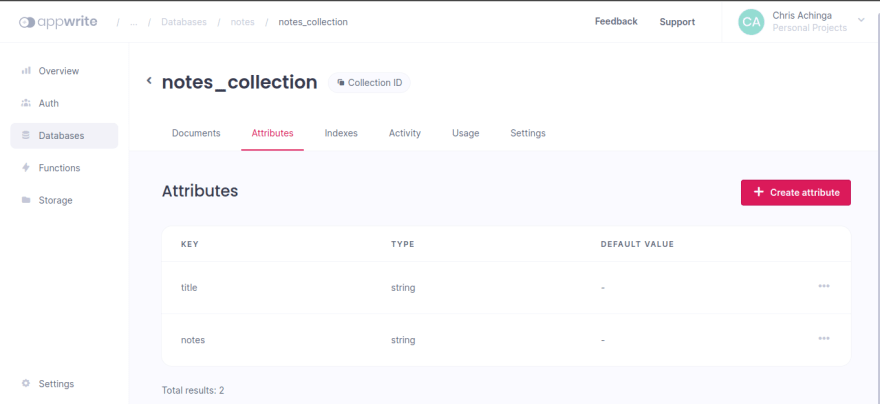
To start adding data to our collection, we need to set attributes. Inside the notes_collection, click on the Attributes tab to add the following attributes:
title
notes
NOTE: While creating the attributes, we are required to define the attribute’s data type and size.
After creating the required attributes, click on the document tab to add dummy data.
Creating a Next.js Application
To create a Next.js application, run the following command on a command line tool:
npx create-next-app notes-app
After a successful installation, we can run the project with the following commands to confirm a successful setup:
    cd notes-app
    npm run dev
Next.js will run locally on port 3000: localhost:3000.
For the demo, the user design is already set up and can be found on GitHub:
After cloning, install the node packages by running:
npm install
To run the application, use the following command:
npm run dev
The project will run on localhost:3000
Breaking down the Next.js Application
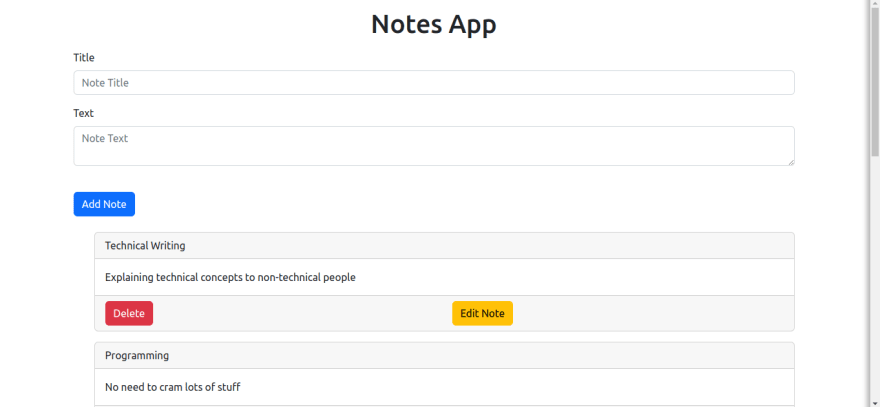
All of the notes taken will be displayed in a list, as defined in the NoteItem component:
constNoteItem=({title,notes})=>{return(<divclassName='card mb-3'><divclassName='card-header'>{title}</div>
<divclassName='card-body'><pclassName='card-text'>{notes}</p>
</div>
</div>
)}exportdefaultNoteItemNoteItem.defaultProps={title:'Note Title',notes:'With supporting text below as a natural lead-in to additional content.',}
To add a note, we will create a form using the AddNoteForm component:
Appwrite's GraphQL API is a tool for building APIs that allows clients to request only the data they need and nothing more, making it more efficient and flexible than traditional REST APIs.
Through the endpoint /v1/graphql, we can query and modify any resource type on our Appwrite server. Except for OAuth, every REST endpoint is available via GraphQL.
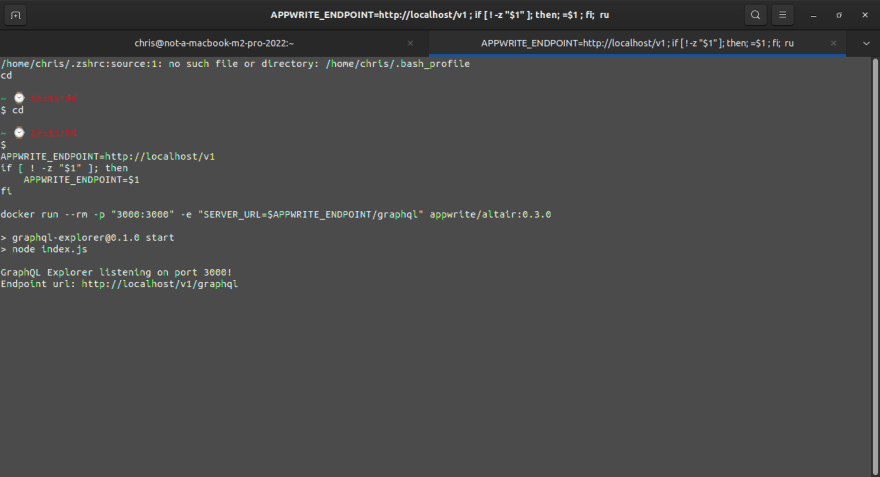
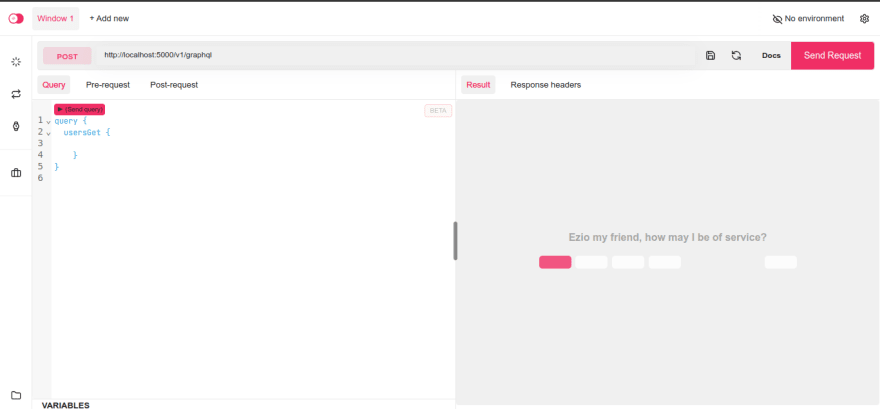
We can setup up the GraphQL playground locally to test for Appwrite’s GraphQL APIs. To do so, create a file with a .sh extension, i.e., appwrite-grapghql.sh, and copy the following:
#!/bin/sh# To ensure the GraphQL docs load in the explorer, set the _APP_OPTIONS_ABUSE# variable to disabled in your .env file.# # If you have a domain, run this script passing the endpoint like:# ./start-appwrite-graphql-explorer.sh https://appwrite.example.com/v1## After you see "GraphQL Explorer listening on port 3000!", open your browser# and browse to http://localhost:3000/
Importing the Client and GraphQL classes from the appwrite library will make it possible to use Appwrite’s GraphQL features in our web application.
We then create a new Client instance where we set the Appwrite configurations by setting the endpoint and project ID for the Appwrite server. In this case, we will use:
constclient=newClient().setEndpoint('https://localhost:5000/v1/graphql')// Your Appwrite Endpoint.setProject('[PROJECT_ID]')
To get the project ID, go to the project view on the Appwrite console and click on Settings to get the ID:
3.We then create a new instance of the Graphql class, passing the Client instance as a parameter.
Getting Notes from Appwrite
We then modify our components to get notes and add notes using Appwrite dynamically. In index.js, update the following to fetch data from the Appwrite database:
import{Client,Graphql}from'appwrite'importHeaderTextfrom'@/components/HeaderText'importAddNoteFormfrom'@/components/AddNoteForm'importNotesListfrom'@/components/NotesList'importNoteItemfrom'@/components/NoteItem'constHome=()=>{constclient=newClient().setEndpoint('https://localhost:5000/v1/graphql')// Your Appwrite Endpoint.setProject('[REPLACE_PROJECT_ID]')constgraphql=newGraphql(client)// get data from databaseconstquery=graphql.mutation({query:`query GetNotes {
databasesGetDocument(
databaseId: "[REPLACE_DATABASE_ID]",
collectionId: "[REPLACE_COLLECTION_ID]",
documentId: "[REPLACEDOCUMENT_ID]"
) {
_id
_collectionId
_databaseId
_createdAt
_updatedAt
_permissions
data
}
}`,})query.then((response)=>{console.log(response)})// use the result to pass datareturn(<divclassName='container'><HeaderText/><AddNoteForm/>{/* use data from query API above */}{response.data.databasesGetDocument.data(({title,notes})=>(<NoteItemtitle={title}notes={notes}/>
))}</div>
)}exportdefaultHome
Creating Notes:
We will update our form to take in user input values:
We will then add a mutation to our GraphQL schema to enable data from the form to be sent to Appwrite.
constquery=graphql.mutation({query:`query AddNotes {
databasesCreateDocument(
databaseId: "[REPLACE_DATABASE_ID]",
collectionId: "[REPLACE_COLLECTION_ID]",
documentId: "[REPLACEDOCUMENT_ID]",
title: $title, text: $text
{
id
title
text
}
)
}`})
Here's a breakdown of the code:
graphql.mutation: This function is likely defined elsewhere and creates a new mutation in the GraphQL API.
databasesCreateDocument: This mutation creates a document in Appwrite database collection.
title: $title & text: $text: These are the values for the title and text fields of the document. They are passed in as variables, denoted by the $ symbol.
id, title, & text: These document fields will be returned after the mutation is executed.
This code creates a GraphQL mutation that creates a document in a database collection with a specified ID, title, and text. The id, title, and text of the created document will be returned.
Deleting a Note
To delete a note, we will add a delete button to a note card and create a function that will delete a note when a user clicks the delete button.
To create the delete button, update the Note card to:
On the button, we added an event handler, onClick, which will fire up the deleteNote function:
onClick={()=>deleteNote(note.id)}
We then create the deleteNote GraphQL mutation:
constquery=graphql.mutation({query:`query DeleteNote {
databasesDeleteDocument(
databaseId: "[REPLACE_DATABASE_ID]",
collectionId: "[REPLACE_COLLECTION_ID]",
documentId: "[REPLACEDOCUMENT_ID]",
id: $id
{
id
title
text
}
)
}`})
The deleteNote function takes an input parameter "id", which is obtained from the note card a user clicks. It then filters out the specific item and the setNotes state updates the list of notes.
In this post, the process of installing, creating, and setting up the Appwrite application and the Next.js version 13 project has been demonstrated, including how Appwrite GraphQL works and how it can be integrated.